In the rapidly evolving world of digital entertainment in 2026, having a standard satellite box is no longer enough. To truly unlock the potential of your television, you must learn how to connect satellite receiver to wifi. Gone are the days when receivers were only used to decode signals from a dish antenna. Today, these devices act as smart hubs, but only if they are connected to the internet.
Whether you are a fan of high-definition YouTube videos, want to explore the world of IPTV, or need to download the latest firmware patches, a solid internet connection is the backbone of your experience. In this ultimate guide, we will provide you with a direct, no-nonsense approach to ensure you can connect satellite receiver to wifi without facing any technical hurdles.
Why Do You Need to Connect Satellite Receiver to WiFi in 2026?
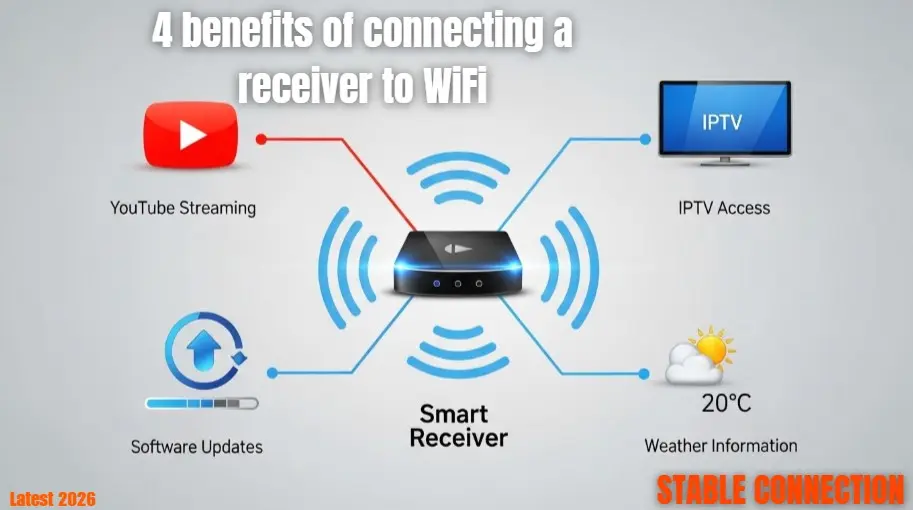
You might wonder why it is so important to connect satellite receiver to wifi when you already have local channels. The answer lies in versatility. A connected receiver allows you to:
-
Access Global Content: Stream movies and shows from across the globe via built-in apps.
-
IPTV Capabilities: Use Xtream codes and M3U playlists to watch thousands of live channels without a dish.
-
Stay Updated: Manufacturers release frequent patches to improve performance. When you connect satellite receiver to wifi, these updates can be downloaded automatically.
-
Weather and News: Get real-time updates directly on your TV screen.
Understanding the Hardware: The USB WiFi Antenna
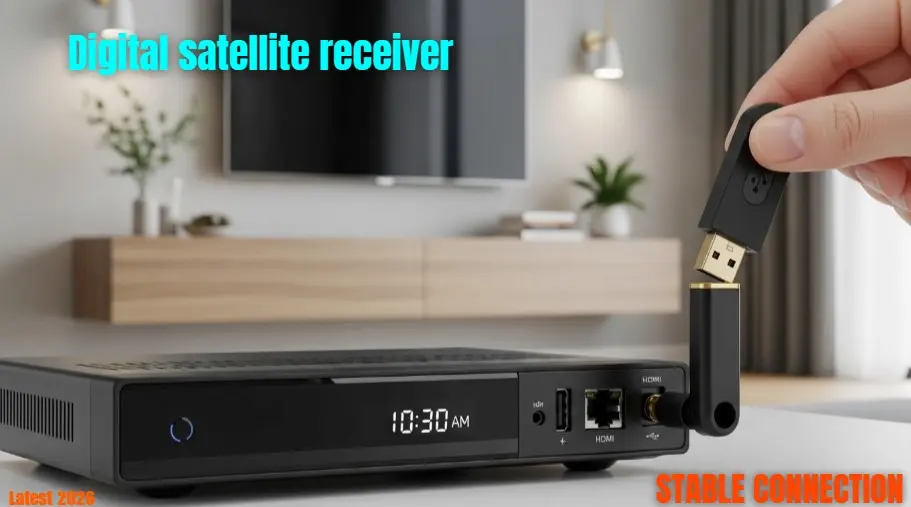
Before you attempt to connect satellite receiver to wifi, you must have the correct hardware. Most digital boxes do not have internal WiFi chips. Instead, they rely on external USB dongles.
The Importance of Chipsets (MT7601 vs RT5370)
This is the part where most users fail. You cannot just plug in any random WiFi adapter from a PC and expect it to work. Satellite receivers run on specific drivers.
-
MT7601: This is the most popular chipset. If you are using a 1506G, 1507G, or 1506T board receiver, you must use an MT7601 antenna to connect satellite receiver to wifi successfully.
-
RT5370: This chipset is usually required for premium brands like Starsat, Tiger, or Geant.
Pro Tip: Always check your receiver’s “System Information” to see which driver it supports before buying an antenna.
Step-by-Step: How to Connect Satellite Receiver to WiFi
Let’s get into the step-by-step process. Follow these instructions carefully to ensure your device connects to the internet on the first try.
Step 1: Plug in the Antenna
Insert your USB WiFi dongle into the receiver. While front ports are convenient, I highly recommend using the back USB port. The rear ports are directly connected to the mainboard and provide more stable power, which is crucial when you connect satellite receiver to wifi for long streaming sessions.
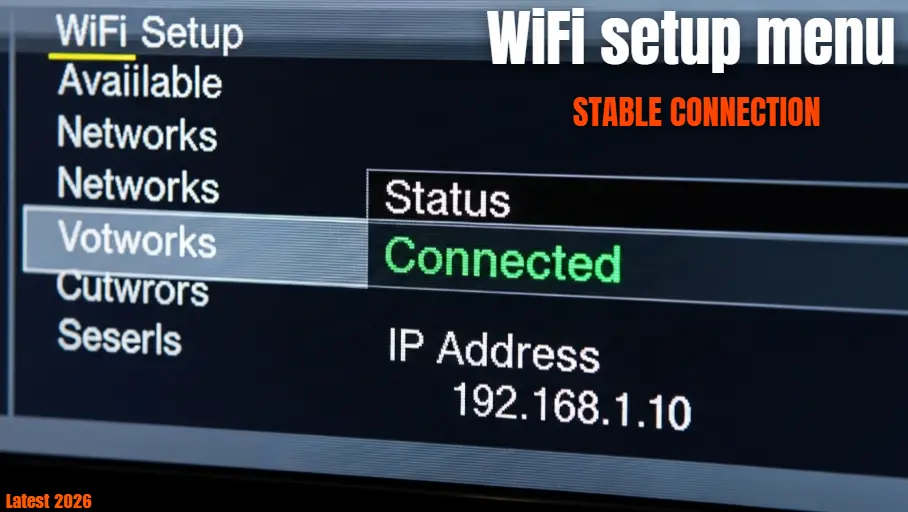
Step 2: Enter the Network Menu
Using your remote, press the Menu button. Look for a section labeled Setting, Network, or System Setup. Inside, you should find an option called “Network Setting” or “WiFi Config.” Click OK to open it.
Step 3: Scan for Wireless Networks
Once inside the menu, ensure the “Link Type” is set to “WiFi.” Now, press the Search button (usually the Green button on your remote). Your receiver will now look for available signals. This is a critical step to connect satellite receiver to wifi because if no networks appear, your antenna might be incompatible.
Step 4: Authentication
Select your home WiFi name (SSID). A password box will appear. Use the on-screen keyboard to enter your WiFi password. Be very careful with capital letters and symbols. Once done, click Confirm or Connect. Within 5-10 seconds, the status should change to “Connected.”
If you are looking for more streaming tips, don’t forget to read our guide on How to Install Stremio on Firestick.
Q1: Why is my receiver showing “No Network Interface”?
Ans: This means the receiver doesn’t recognize the USB device. Restart your receiver by unplugging the power and plugging it back in with the antenna already inserted. If it fails, you likely have the wrong chipset (MT7601 vs RT5370).
Q2: How do I fix a weak WiFi signal on my receiver?
Ans: Satellite receivers have small antennas. If your router is in another room, use a USB extension cable to move the antenna away from the metal body of the receiver, or move your router closer for a stable signal.
Q3: Why does it keep asking for the WiFi password (Password Loop)?
Ans: This is usually a security mismatch. Change your router’s security setting from WPA3 to WPA2-PSK. Older receiver software often struggles with the latest WPA3 security protocols.
Advanced Features After Connecting to WiFi
Once you successfully connect satellite receiver to wifi, you aren’t just limited to basic settings. 2026 technology allows for much more:
Using IPTV and Xtream Codes
In the network menu, you will now see options like “IPTV,” “Xtream,” or “M3U.” You can enter your service provider’s details here to stream live TV without needing a satellite dish at all. This is the primary reason most people want to connect satellite receiver to wifi.
Online FTP Upgrade
Instead of searching for software on shady websites, you can go to Menu > Upgrade > FTP Upgrade. This allows the receiver to fetch the latest official software directly from the manufacturer’s server over the internet.
Maintaining a Stable Connection
To ensure you don’t have to connect satellite receiver to wifi every time you turn on the TV, make sure the “Auto Link” or “Auto Connect” option is checked in your network settings. This ensures that as soon as the box boots up, it finds your router and logs in automatically.
Also, keep an eye on your USB antenna’s temperature. If it gets too hot, the connection might drop. If this happens, a simple 2-minute “cool down” period (unplugging it) usually fixes the issue.
To learn more about how wireless signals work with digital devices, you can check the official details on Wikipedia.
Conclusion: Final Thoughts for 2026
In conclusion, knowing how to connect satellite receiver to wifi is an essential skill for any modern TV viewer. It bridges the gap between old-school satellite broadcasting and modern-day internet streaming. By choosing the right MT7601 or RT5370 chipset and following the step-by-step navigation menu, you can transform your viewing experience.
Still stuck?
If you are still unable to connect satellite receiver to wifi, don’t worry! Leave a comment below with your receiver’s brand name and model number. I personally check all comments and will provide you with a specific solution for your device.
Frequently Asked Questions (FAQ)
Legal Disclaimer:
This guide is for educational purposes only. The Stick Pedia is not liable for any hardware damage or software errors. Connecting receivers to WiFi involves 3rd-party tools; use at your own risk. We do not promote illegal content.